
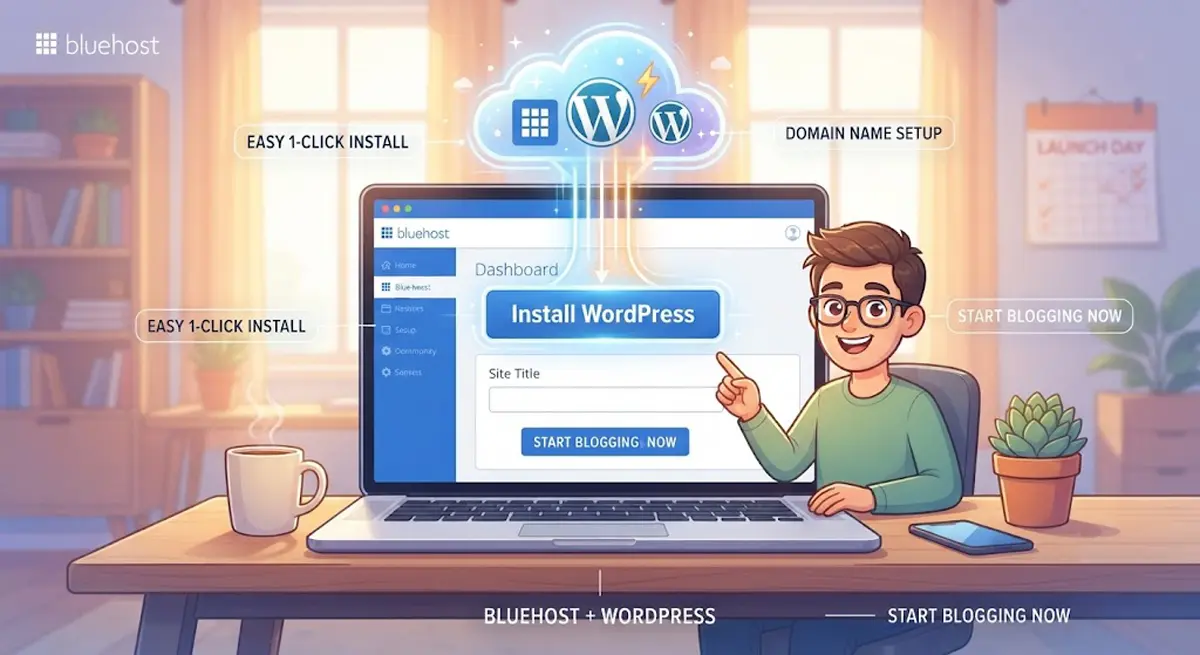
Learning how to start a wordpress blog on bluehost does not require a degree in computer science or advanced technical coding skills. If you want to build a real digital asset that you fully own, control, and monetize, you need a self-hosted platform rather than a restricted free service.
This comprehensive guide cuts through the technical clutter and walks you through the entire setup process from absolute zero, ensuring your site is built on a solid, high-performance foundation.
Why Choose Self-Hosted WordPress and Bluehost?
Before diving into the core setup steps, you must understand your digital foundation. Free blogging platforms severely restrict your monetization potential, site control, and long-term brand growth.
- Complete Ownership: Self-hosted WordPress.org ensures you own 100% of your content files, database records, and revenue streams.
- Proven Reliability: Bluehost is officially recommended by WordPress and powers millions of websites worldwide with dependable server uptime.
- Affordable Entry: Launching your platform requires minimal startup investment while giving you enterprise-grade infrastructure flexibility.
Deep Dive: Why Bluehost is the Ideal Choice for Beginners
When building a new website, your web host acts as the digital land where your website files live. Choosing the right provider dictates your site speed, security posture, and ease of maintenance. Here is why Bluehost stands out for new publishers:
- Official WordPress Recommendation: Bluehost has been recommended by WordPress since 2005 due to its seamless platform integration and technical alignment.
- 24/7 Expert Support: Technical issues can happen at any time. Bluehost offers round-the-clock support via live chat, phone, and ticketing systems to help resolve issues immediately.
- Automatic Security Features: Every plan includes free SSL certificates (Let's Encrypt) to protect user data, along with built-in malware detection safeguards.
- One-Click Scaling: As your traffic grows from a few visitors to tens of thousands per month, upgrading your server resources or switching to managed cloud tiers is frictionless.
Ready to get started? You can 👉click here to activate your exclusive discount and launch your hosting plan.
Step-by-Step: How to Start a WordPress Blog on Bluehost
Step 1: Choose Your Hosting Plan
Navigate to the hosting provider and select a beginner-friendly package. The starter tier provides all the necessary storage, security certificates, and performance capabilities for a brand-new publishing site without forcing you to pay for bloated extras you do not need yet.
Step 2: Secure Your Domain Name
Your domain is your unique digital address across the web. Choose a clean, brandable name that reflects your niche. If you are still brainstorming, you can claim your domain later or secure your free domain directly through your signup package.
Step 3: Complete Your Account and Billing Info
Fill out your contact details accurately and select your preferred billing term. Opting for a 12-month or multi-year term locks in your introductory discount and ensures continuous, uninterrupted uptime for your readers. Complete your transaction securely to finalize your account creation.
Step 4: Install WordPress Automatically
Once your purchase is complete, log into your hosting dashboard. Locate the automated installer tool, select your newly registered domain, and initiate the WordPress setup wizard. This process creates your site files instantly in the background.
Logging In and Post-Setup Optimization
Accessing Your WordPress Dashboard
Check your email confirmation for your secure login credentials and admin URL[cite: 18]. Enter your username and password to access your backend control center, where all content management, design choices, and plugin integrations take place.
Essential First-Day Tweaks
Before writing your first article, figure out how to start a wordpress blog on bluehost correctly by securing your technical foundation:
- Permalinks: Navigate to Settings > Permalinks and set your URL structure to “Post name” for optimal search engine readability.
- Clean Up: Delete default sample posts, boilerplate comments, and unneeded plugins to keep your database lean and fast.
Frequently Asked Questions
- Do I need technical skills? None at all. The entire installation process is automated through a simple wizard.
- Can I change my theme later? Yes. You can switch or customize your design templates at any time from your dashboard.
- Why is hosting necessary? Your host acts as the digital land where your website files live, ensuring visitors can access your blog 24/7.
Launch Your Blog Today
Building a successful online presence starts with taking action on the fundamentals. By securing reliable infrastructure and following a clean setup blueprint, you eliminate technical friction and set your content up for long-term search visibility.
Don't let technical hesitation delay your publishing goals. 👉Click here to secure your bluehost hosting discount package and launch your WordPress blog on Bluehost today!
I am often to blogging and I really appreciate your content about Addon domain. The article has really enhanced my interest. I am going to bookmark your site and keep checking for new information. how to add addon domain in cpanel
Thank You so much for appreciating our work…Best wishes Anil… 🙂